Suture removal is a common medical procedure involving the removal of non-absorbent stitches after wound healing․ It ensures proper recovery, reduces scarring, and prevents infection․
Overview of Suture Removal
Suture removal is a straightforward medical procedure typically performed after a wound has healed sufficiently․ It involves cutting and pulling out non-absorbent sutures, which are usually removed 5 to 14 days post-surgery․ The process is essential for promoting proper healing and minimizing scarring․ Absorbable sutures, on the other hand, dissolve naturally over time and do not require removal․ Suture removal is commonly performed in clinical settings but can also be done at home by trained healthcare professionals․ Proper technique is crucial to avoid complications, such as infection or reopening the wound․ The procedure is quick, requiring minimal time, and is tailored to the type and location of the sutures․ Its primary goal is to ensure the wound heals cleanly and efficiently, reducing the risk of long-term damage or scarring․
Importance of Proper Suture Removal
Proper suture removal is vital for ensuring optimal wound healing and minimizing complications․ It prevents infection, reduces scarring, and avoids tissue damage․ Improper removal can lead to prolonged healing times or the reopening of wounds․ Additionally, it helps maintain the integrity of the skin and prevents the formation of keloids or hypertrophic scars․ Proper technique also reduces discomfort for the patient and ensures the removal process is efficient․ Timely removal, typically between 5 to 14 days, is essential to prevent the sutures from becoming embedded in the skin or causing irritation․ Overall, correct suture removal is a critical step in post-surgical care, promoting faster recovery and better aesthetic outcomes while reducing the risk of adverse effects․
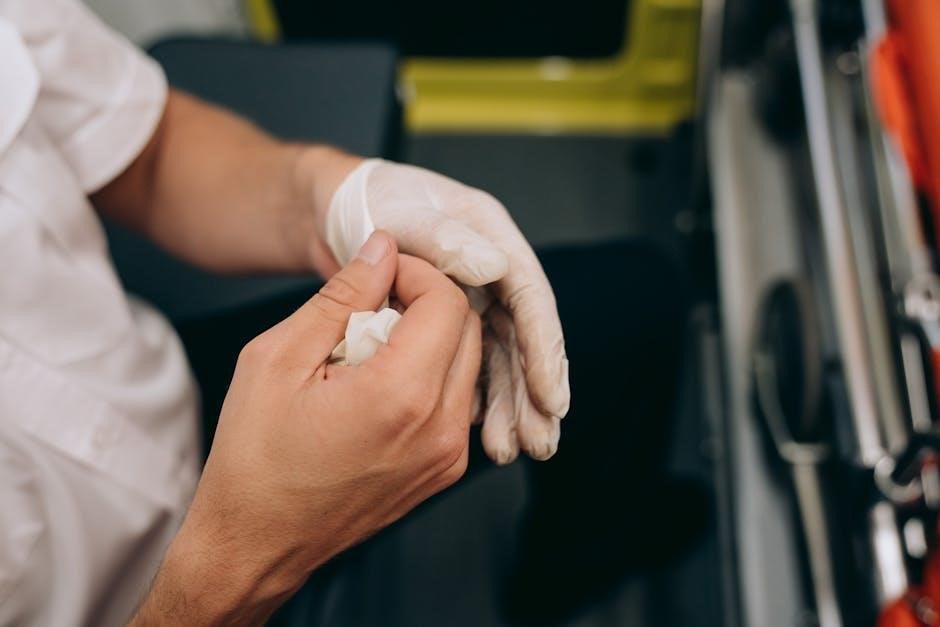
Preparation for Suture Removal
Preparation involves gathering materials like suture scissors, forceps, and antiseptic solution․ Clean the surface with sanitizing wipes or a mild detergent solution to ensure a sterile environment․
Materials Needed
Essential materials for suture removal include sterile suture scissors, forceps, gloves, antiseptic wipes, and a clean surface․ Optional items may involve saline solution and a dressing kit for post-removal care․

Cleaning and Sterilization
Cleaning and sterilization are crucial for preventing infection․ Use antiseptic wipes or a solution of warm water and detergent to sanitize the surface․ Ensure all tools, like suture scissors and forceps, are sterilized before use․ Gloves should be worn to maintain asepsis․ This step ensures the procedure is performed under hygienic conditions, minimizing the risk of contamination and promoting a safe environment for suture removal․

The Suture Removal Process

The procedure involves examining sutures, cutting them with sterile scissors, and gently pulling them out with forceps, ensuring minimal discomfort and promoting safe removal․
Examining the Sutures
Examining sutures involves checking for signs of proper healing, such as minimal redness, swelling, or discharge․ Ensure sutures are snug, evenly spaced, and free from irritation․ Look for any signs of infection, like increased redness or pus, which may require immediate attention․ The healthcare provider assesses the wound’s edges to confirm they are well-aligned and healing as expected․ This step is crucial to determine if the sutures can be safely removed without compromising the wound’s integrity․ The examination also verifies that the sutures have fulfilled their purpose and are ready for removal, typically occurring 7 to 14 days after placement, depending on the location and healing progress․ Proper inspection ensures a smooth and effective removal process․
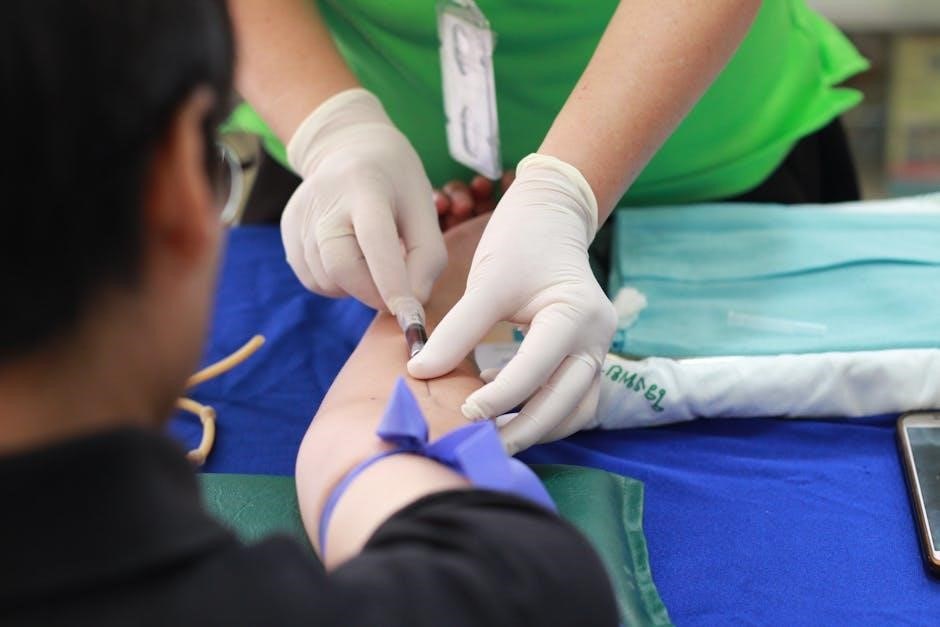
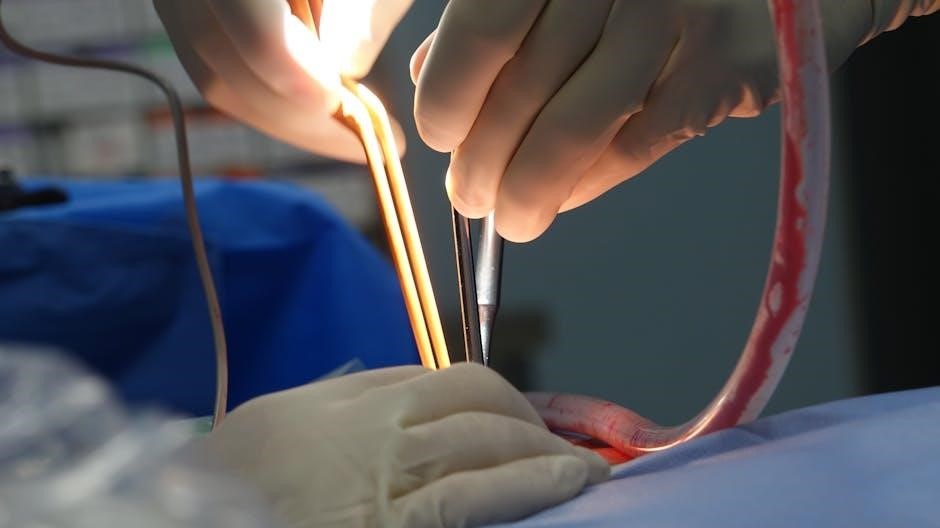
Using Suture Scissors and Forceps
The removal process begins with sterile suture scissors and forceps․ The healthcare provider uses the forceps to gently grasp the suture above the skin, while the scissors carefully cut the stitch․ Proper technique ensures minimal discomfort and prevents pulling on the wound․ The sutures are typically cut at a slight angle to avoid irritation․ After cutting, the forceps are used to pull the suture out smoothly, ensuring the entire thread is removed․ This step requires precision to avoid reopening the wound or causing unnecessary trauma․ The process is repeated for each suture, working from one end to the other․ Cleanliness and care are essential to prevent infection during and after removal․
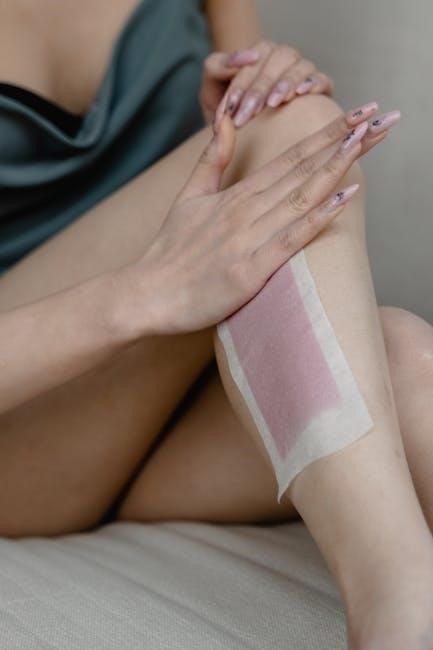
Post-Removal Wound Care
After suture removal, clean the wound with saline or mild soap to promote healing․ Apply antibiotic ointment to reduce infection risk and cover with a sterile dressing․
Cleaning the Wound
Cleaning the wound after suture removal is crucial for preventing infection and promoting healing․ Use saline solution or mild soap with warm water to gently cleanse the area․ Avoid harsh scrubbing or using iodine-based solutions, as they may irritate the skin․ Pat the area dry with a clean towel․ If recommended, apply an antibiotic ointment to reduce the risk of infection․ Always follow healthcare provider instructions for specific wound care needs․ Regular cleaning helps maintain a clean environment, fostering optimal recovery and minimizing complications․ Proper hygiene practices should be continued until the wound is fully healed․
Applying Antibiotic Ointment
Applying antibiotic ointment after suture removal helps prevent infection and supports wound healing․ Gently spread a thin layer of ointment over the cleaned wound using a sterile applicator or clean hands․ Avoid applying excessive amounts, as this can create a barrier that traps bacteria․ Reapply the ointment 1-2 times daily, or as directed by your healthcare provider․ Continue this routine until the wound is fully healed or until advised to stop․ If you experience redness, itching, or irritation, discontinue use and consult your provider․ Antibiotic ointment is a simple yet effective step in maintaining wound health and reducing infection risks during the recovery process․
Documentation and Follow-Up
Accurate documentation and regular follow-up ensure proper healing, allow for timely interventions, and maintain patient care continuity after suture removal․
Recording the Procedure
Recording the suture removal procedure is essential for maintaining accurate patient records․ Document the date, time, and details of the procedure, including the number of sutures removed and any complications encountered․ Note the patient’s response and the condition of the wound post-removal․ This documentation helps track healing progress and ensures continuity of care․ Properly logging the procedure also supports legal and clinical accountability․ Ensure all entries are clear, concise, and comply with medical standards․ Accurate records facilitate effective communication among healthcare providers and contribute to better patient outcomes․ Regular updates and thorough documentation are critical for monitoring recovery and addressing any potential issues promptly․
Scheduling Follow-Up Appointments
Scheduling follow-up appointments after suture removal is crucial for monitoring wound healing and addressing any potential concerns․ Patients should be instructed to return within 7-14 days for a post-removal checkup․ During this visit, the healthcare provider will assess the wound’s condition, ensure proper healing, and remove any remaining sutures if necessary․ It’s important to emphasize the importance of attending these appointments to prevent complications and ensure optimal recovery․ Patients should be advised to call before their medication runs out to maintain continuity of care․ Regular follow-ups help in identifying and managing any issues promptly, ensuring a smooth recovery process and minimizing the risk of infection or scarring․